Okay, it’s been a few weeks since I last wrote. I took a much needed break with a 1 week vacation away from a handful of websites I own and operate.
Nevertheless, I had fun over the break, spending it with my beautiful wife without our 2 boys. It was the first time in 3 years we both woke up without a child in the house or anyone besides ourselves to feed, change, entertain and parent.
It was a much needed break, but I’m glad to be back to share many more CCB tutorials, tips and tricks.
Reporting group participant attendance in other groups
In today’s tutorial, we’ll discuss how to retrieve a participant list from groups. Why? From time to time, there are many needs that arise pertaining to group attendance or the attendance a certain group of individuals in a group.
For instance, let’s say you wanted to ensure all of your worship team or group participants were actively attending a community or life group.
You could manually perform this action, but doing so doesn’t scale well for the long term. Plus, if you did manually report attendance in this manner, you would spend most of your week trying to compile data for an entire group, if you worship team is more than 15 or so members.
We won’t cover the entire process of retrieving attendance for the group in this tutorial. Hang in there with me though and we’ll have you *automagically* reporting in a few weeks. This will be a series tutorial. Let’s get started!
By the time you finish this tutorial today, you will have a list of your group participants placed in a drop down menu.
Retrieving a Group Participants List
Opening the text editor of your choice, create and save a file named group-participants.php and be sure to add the appropriate header comments and include the config.php file as we have in previous tutorials.
You are now ready to set the apiService variable equal to group_participants, the CCB api service that retrieves a list of group participants.
Next, you’ll want to identify the id of the group you’re wanting to obtain a participants list for. You’ll need to login to your CCB account, and select Groups from the left hand menu as shown below.
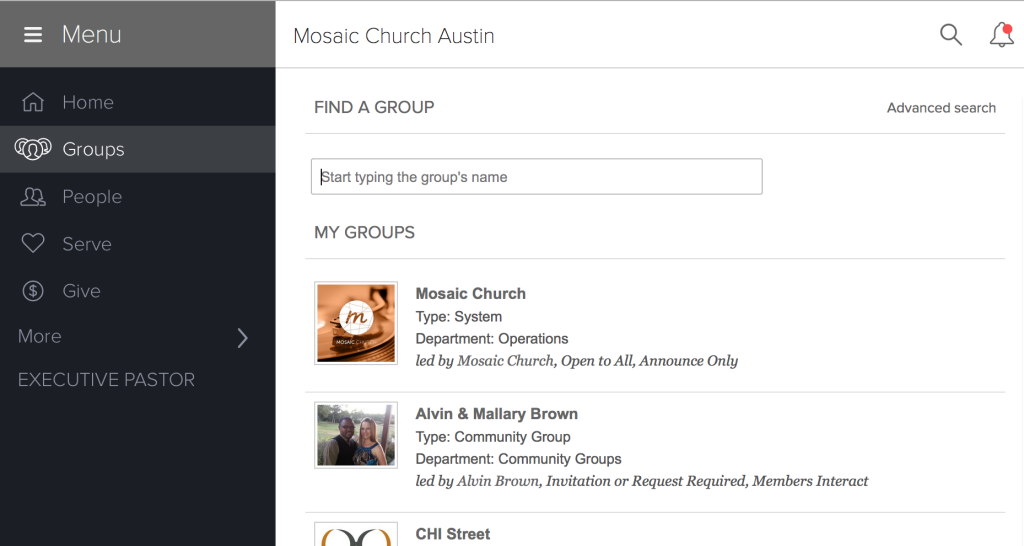
Once at the Groups page, simply search for your group. In this example, I’ll use my very own community. Once you’ve searched and found your group, click the group’s title (“Alvin & Mallary Brown” in this example) to be taken to the respective group’s page.
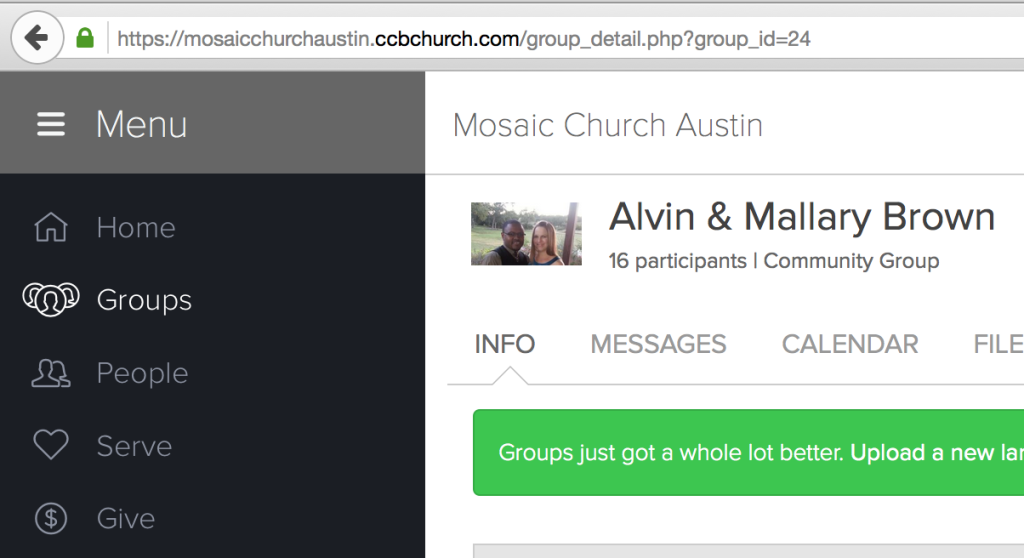
Once at the group page, look at the url in your web browser (shown below), and find and identify the number that follows group_id=. In our example, the group id for Alvin & Mallary Brown’s community group is 24. Next, create a groupID variable and set the value equal to the respective groups’ id.
Now that variables have been created, it’s time to create the urlData variable and assign it an array of binded service API labels and variables. Don’t forget to encapsulate the array using the array_filter function.
Next, create the rss variable, assigning it the ccbDetails function with get as the first argument and urlData as the second argument. ccbDetails function returns a XML response that you’ll use XPATH query to parse. For this tutorial, use the following XPATH query expression: //participants/participant. Now create a nodes variable and assign it the rss variable that references the XPATH query.
Before we get to ahead of ourselves, we’ll define the response_object variable. Once defined, we’ll begin to create the drop down or select menu that will contain our list of group participants using the select HTML tag.
Be sure to use the .= operator to concatenate group participant data. This same operator will be used in the next step when iterating through each group participant.
Then, create a foreach statement to iterate through each nodes variable array response, which contains list participants with their respective data. From within the foreach statement, we’re now ready to the select menu’s down text and value options.
Set the response_object and us the .= operator to concatenate each group member as option data. We’ll use the option HTML tag, setting both a text and value option of each group member as shown below.
Finally, we’ll need to close the select menu using the close select HTML tag and echo the response_object to web browser screen. Don’t forget to save your file. Open the group-participant.php file using your web browser and you should see a drop down list of group participants.
<?PHP


/**
 * group participants
 */

// contains resusable globals and functions
include("includes/config.php");

$apiService = 'group_participants'; // CCB api service
$groupID = '159'; // Adult Worship Team

$urlData = array_filter( array(
	'srv' => "$apiService",
    'id' => "$groupID"
	) );

$rss = ccbDetails('get',$urlData); // transform to XML

$nodes = $rss->xpath('//participants/participant');  // xpath for groups

$response_object = '';

$response_object .= '<select name="personid" id="personid">';
$response_object .= '<option value="#">Please select a person</option>';

foreach ($nodes as $node)
{
    $response_object .= '<option value="'.$node['id'].'">'.$node->name.'</option>';
}

$response_object .= '</select>';

echo $response_object;


?>
Again, this tutorial will be a series to come back and visit over the next few weeks and I’ll show you how to add interactivity to the drop down menu, so that you can retrieve and display an attendance report for each person.
That’s all for now. Let me know if you have questions about this tutorial. See you next week…